Cleaning thermal paste off CPU pins is a delicate task that requires precision and care. If done incorrectly, it can lead to damage that might render your CPU useless. However, with the right tools and techniques, you can safely remove thermal paste and ensure your CPU is ready for a fresh application. This guide will walk you through the process step by step, providing expert tips and advice along the way.
Understanding the Importance of Thermal Paste
Before diving into the cleaning process, it’s important to understand why thermal paste is used and why cleaning it off is necessary. Thermal paste, also known as thermal compound or thermal grease, is a substance applied between the CPU and the heat sink to improve heat transfer.
Over time, thermal paste can dry out, reducing its effectiveness. This can lead to overheating, which can damage your CPU and other components. Therefore, it’s important to clean off the old thermal paste and apply a fresh layer when installing a new CPU or heat sink.
What You’ll Need
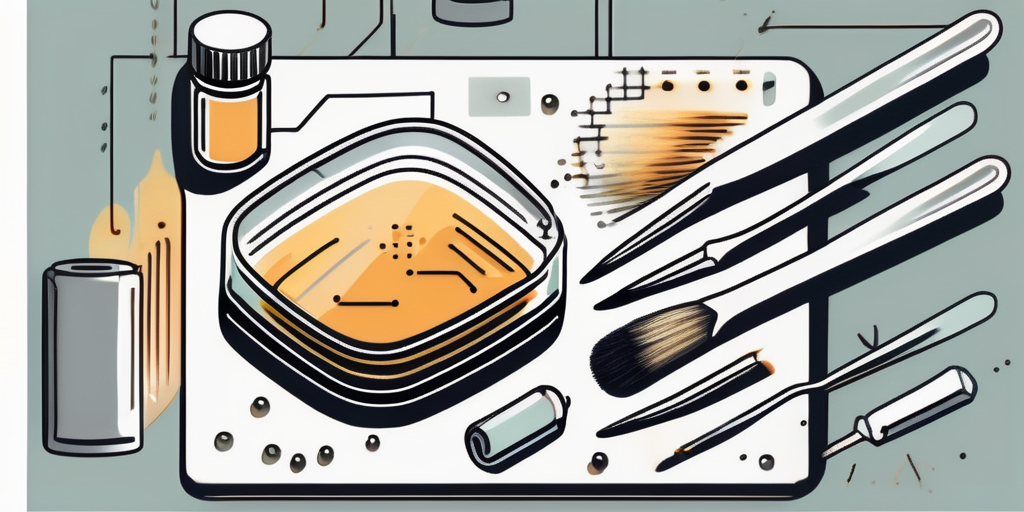
Before you start, gather the necessary tools and materials. Having everything on hand will make the process smoother and reduce the risk of damage.
- Isopropyl alcohol (90% or higher)
- Cotton swabs or lint-free cloth
- Thermal paste
- Plastic or wooden toothpick
- Anti-static wrist strap (optional but recommended)
Steps to Clean Thermal Paste off CPU Pins
Follow these steps carefully to clean thermal paste off your CPU pins. Remember, patience and precision are key in this process.
- First, unplug your computer and open the case. Ground yourself by touching a metal part of the case to prevent static electricity from damaging your components.
- Remove the CPU from its socket carefully. Avoid touching the pins as much as possible.
- Using a plastic or wooden toothpick, gently scrape off the larger chunks of thermal paste. Be careful not to bend or damage the pins.
- Dip a cotton swab or lint-free cloth in isopropyl alcohol and gently clean the remaining thermal paste off the pins. The alcohol will help dissolve the paste, making it easier to remove.
- Let the CPU dry completely before reinserting it into the socket. The alcohol should evaporate quickly, but it’s best to wait at least 10 minutes to be safe.
- Once the CPU is dry, apply a fresh layer of thermal paste according to the manufacturer’s instructions.
- Reinstall the CPU and close the case. Your computer is now ready to use.
Additional Tips and Warnings
While the above steps should help you clean thermal paste off your CPU pins effectively, here are some additional tips and warnings to keep in mind.
- Never use a metal tool to scrape off thermal paste, as it can damage the pins.
- Avoid using water or other cleaning solutions, as they can cause corrosion or other damage.
- Do not apply too much pressure when cleaning the pins, as they can bend or break easily.
- Always use high-quality thermal paste for the best results.
Conclusion
Cleaning thermal paste off CPU pins may seem like a daunting task, but with the right tools and techniques, it’s a task that you can accomplish like a pro. Remember, the key is to be patient and meticulous. Rushing the process can lead to damage that could be costly to repair.
By following the steps and tips outlined in this guide, you can ensure your CPU is clean and ready for a fresh application of thermal paste. This will help maintain optimal performance and prolong the life of your CPU.
Join the HowToClean.pro Cleaning Mastery Community
Now that you’ve mastered the art of cleaning thermal paste off CPU pins, why stop there? Become a part of the HowToClean.pro family and gain access to a wealth of knowledge that will turn you into a cleaning wizard for all your precious items. Subscribe to our free email list today and dive into a world of expert cleaning tips, techniques, and advice tailored to save your belongings from every kind of mess imaginable. With HowToClean.pro, you’re not just cleaning—you’re cleaning like a pro!